Translate

Showing posts with label parsnip. Show all posts

Friday, July 8, 2022

Root Vegetables in all their Glory

I love root vegetables. From beets to yucca and everything in between. There hasn't been much in the root vegetable or tuber family that I don't like, so they feature in many of my favorite recipes. 

Mixing parsnips with potatoes for mashed potatoes has been a habit of very long standing. Oven fries and potato salads make my husband particularly happy. Sweet potatoes, whether used in a "salad" application (like Sweet Potato & Black Bean Salad), baked in a casserole or made into oven fries, make me particularly happy.
root vegetables, squash, side dish, Fall recipe
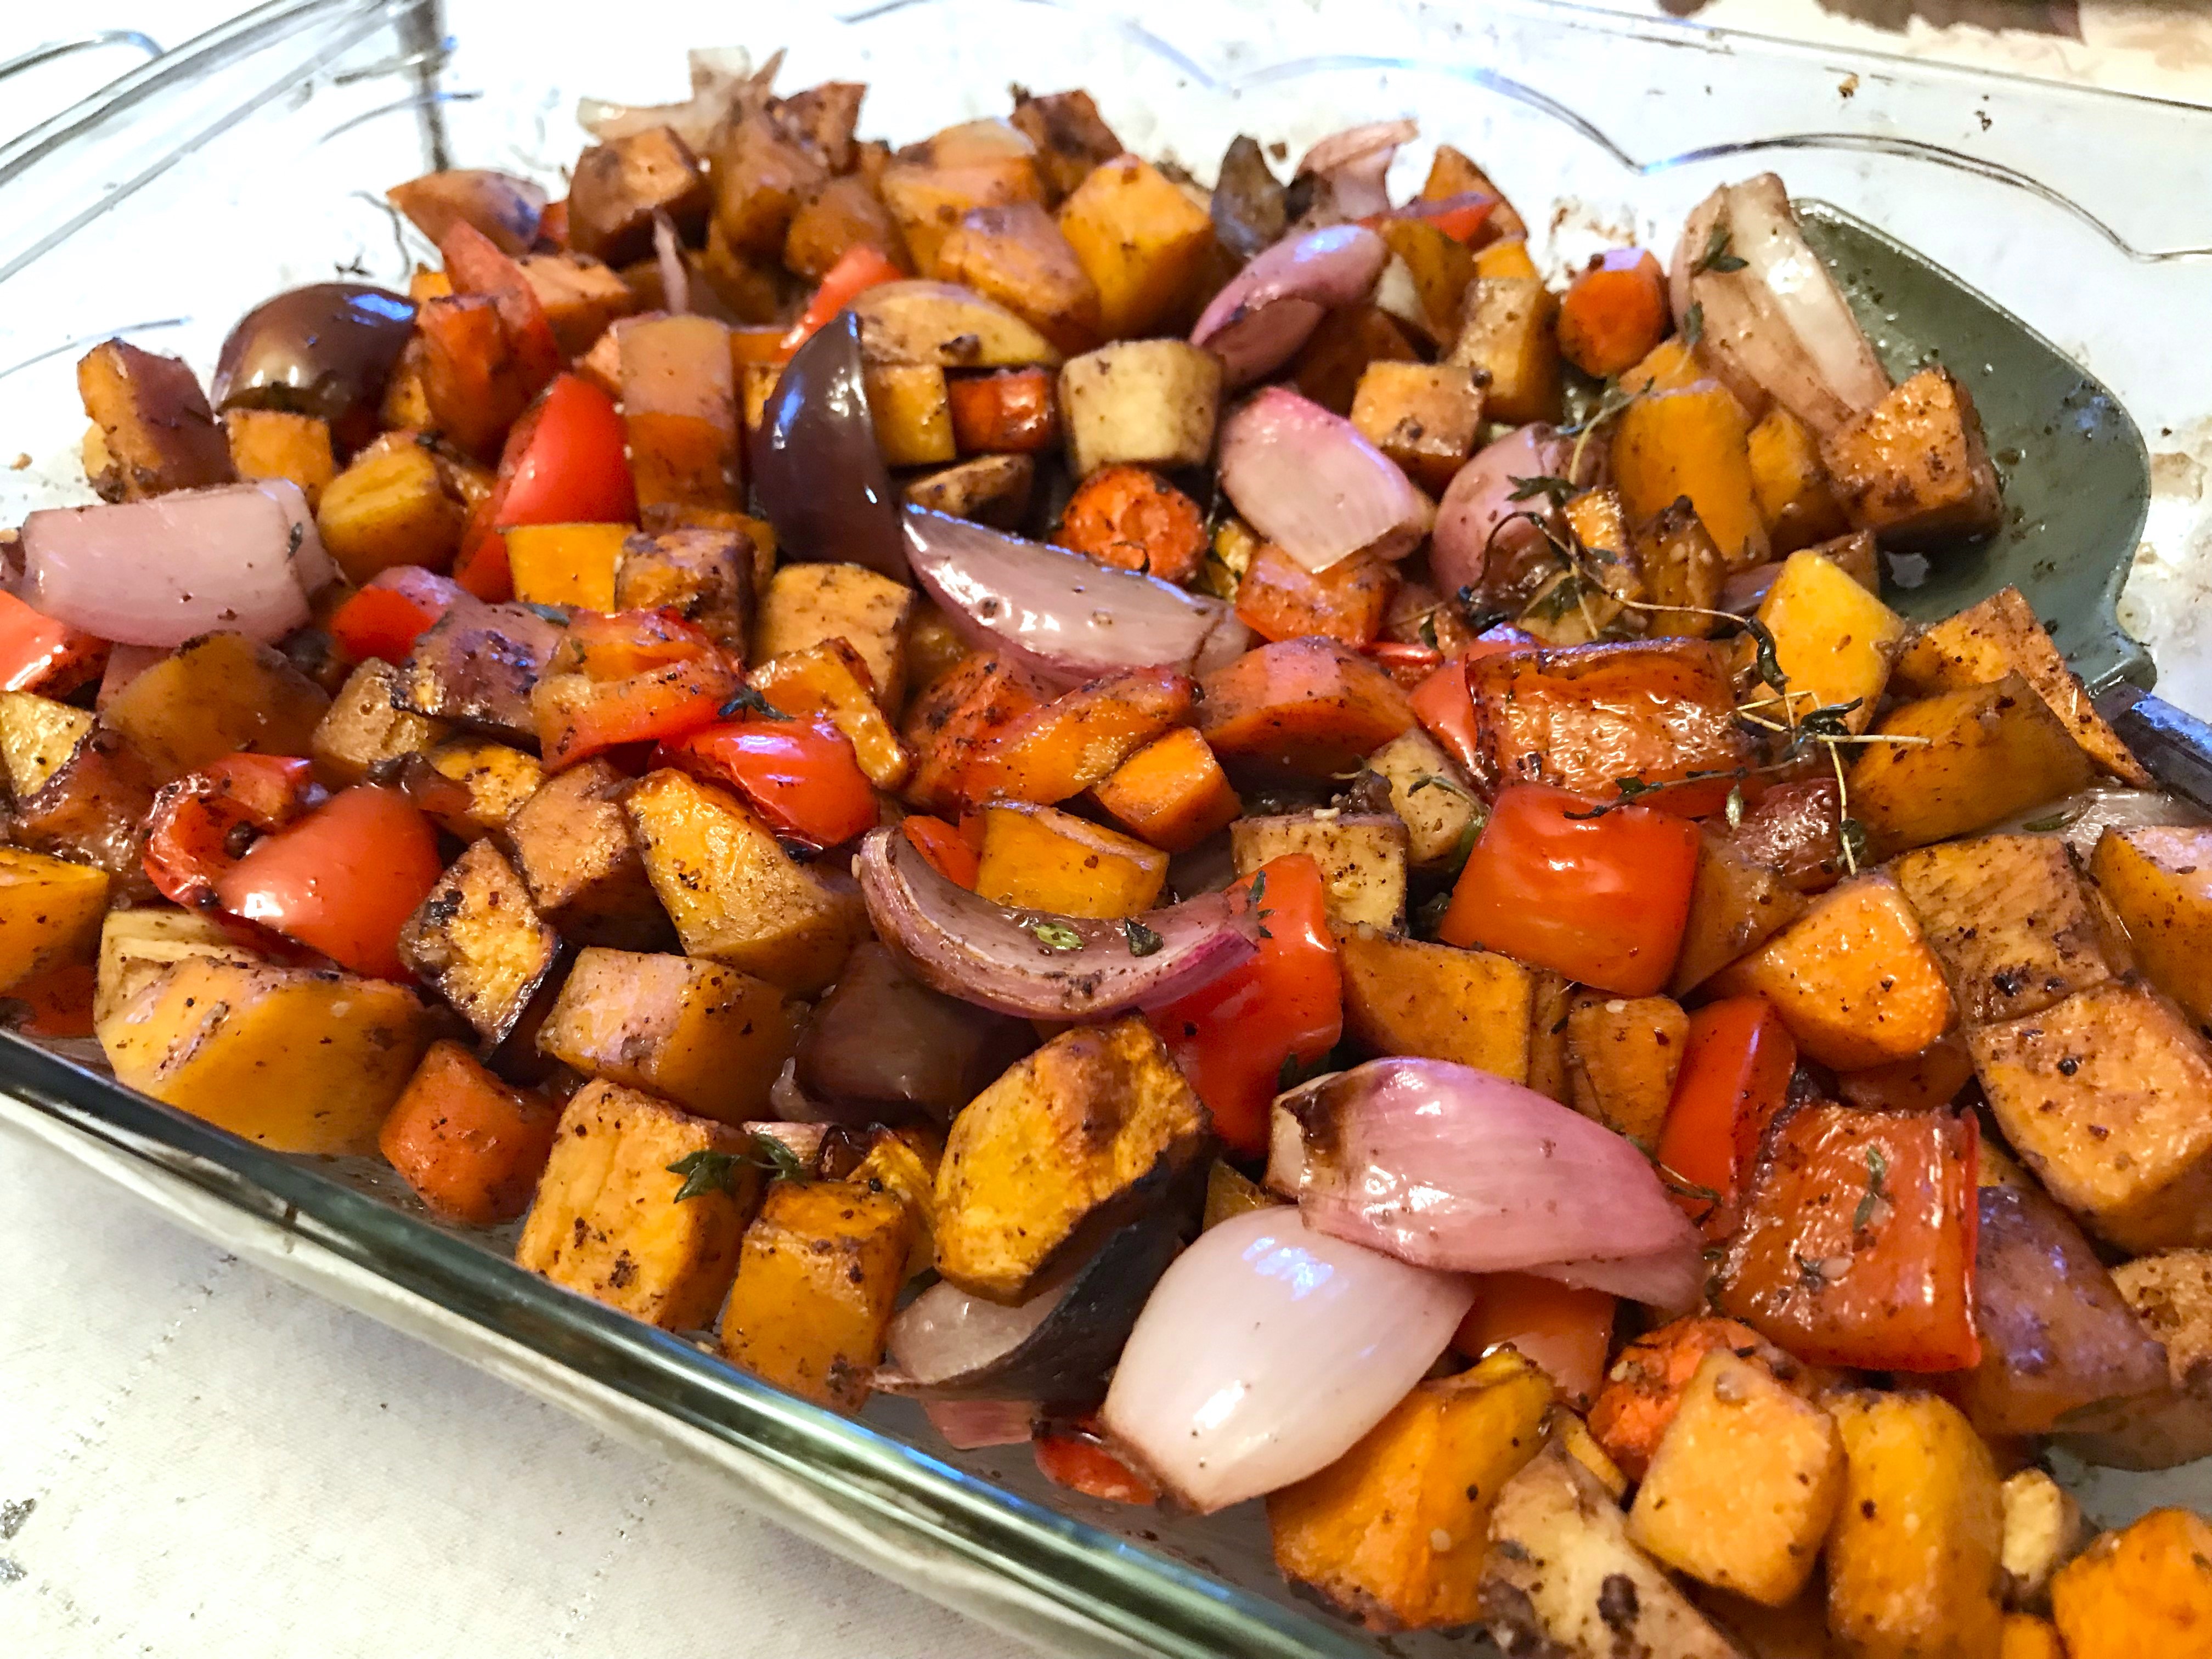
Oven Roasted Root Vegetables

While we are just now coming into the full heat of summer and many people avoid heating their ovens, this recipe for Oven Roasted Root Vegetables (plus a couple of others thrown in 😉) should stay in your files for when Fall and cooler temps start moving in, because this is one fabulous recipe. 

When Fall does hit, squash of all kinds abound, and I love squash as much as most root vegetables. I cannot begin to say I have tried all the countless varieties of squash out there, though I can say with certainty that butternut is normally in my fridge, but come Fall, I wander into other types, like the Australian blue varieties such as Jarrahdale or Jamboree, or Hubbard, though I am not always able to find them, or acorn. So, I normally add some kind of squash to my root vegetables, just because of their similar dense texture and cooking times.

Speaking of cooking times, this will depend entirely on the size you cut your vegetables in preparation for baking. You might cut them into 1 to 1 1/2-inch cubes, or you might go with a much smaller cut. I made an extra tiny cube size for the topping for an appetizer recipe I made for my son's birthday (Rosemary, Brie & Goat Cheese Tarts with Balsamic Roasted Root Vegetables), so being an appetizer portion, the veggies were cut to about 1/4-inch cubes. For some reason I have the time listed for those tiny cubes as nearly the same as for larger ones, though my recollection was that it took about 30 to 35 minutes. If you have much larger, say 1 1/4-inch sized, it can take an hour or even a little more. 

I like using shallots when making the vegetable mixture, but any kind of onion, red, white or yellow, will work just fine. Go with personal preference, or what is on hand. And another vegetable I use, again just because I like them, is green or red bell pepper - and which to use is up to the individual, or what is currently on hand. 

Mix root vegetables for this recipe as you choose, but keep in mind that red beets will stain everything a pretty red color. An alternative if you like beets is to look for either golden beets or Chioggia beets. Yucca root is particularly hard, so should be cut a bit smaller than the other veggies, if using. 


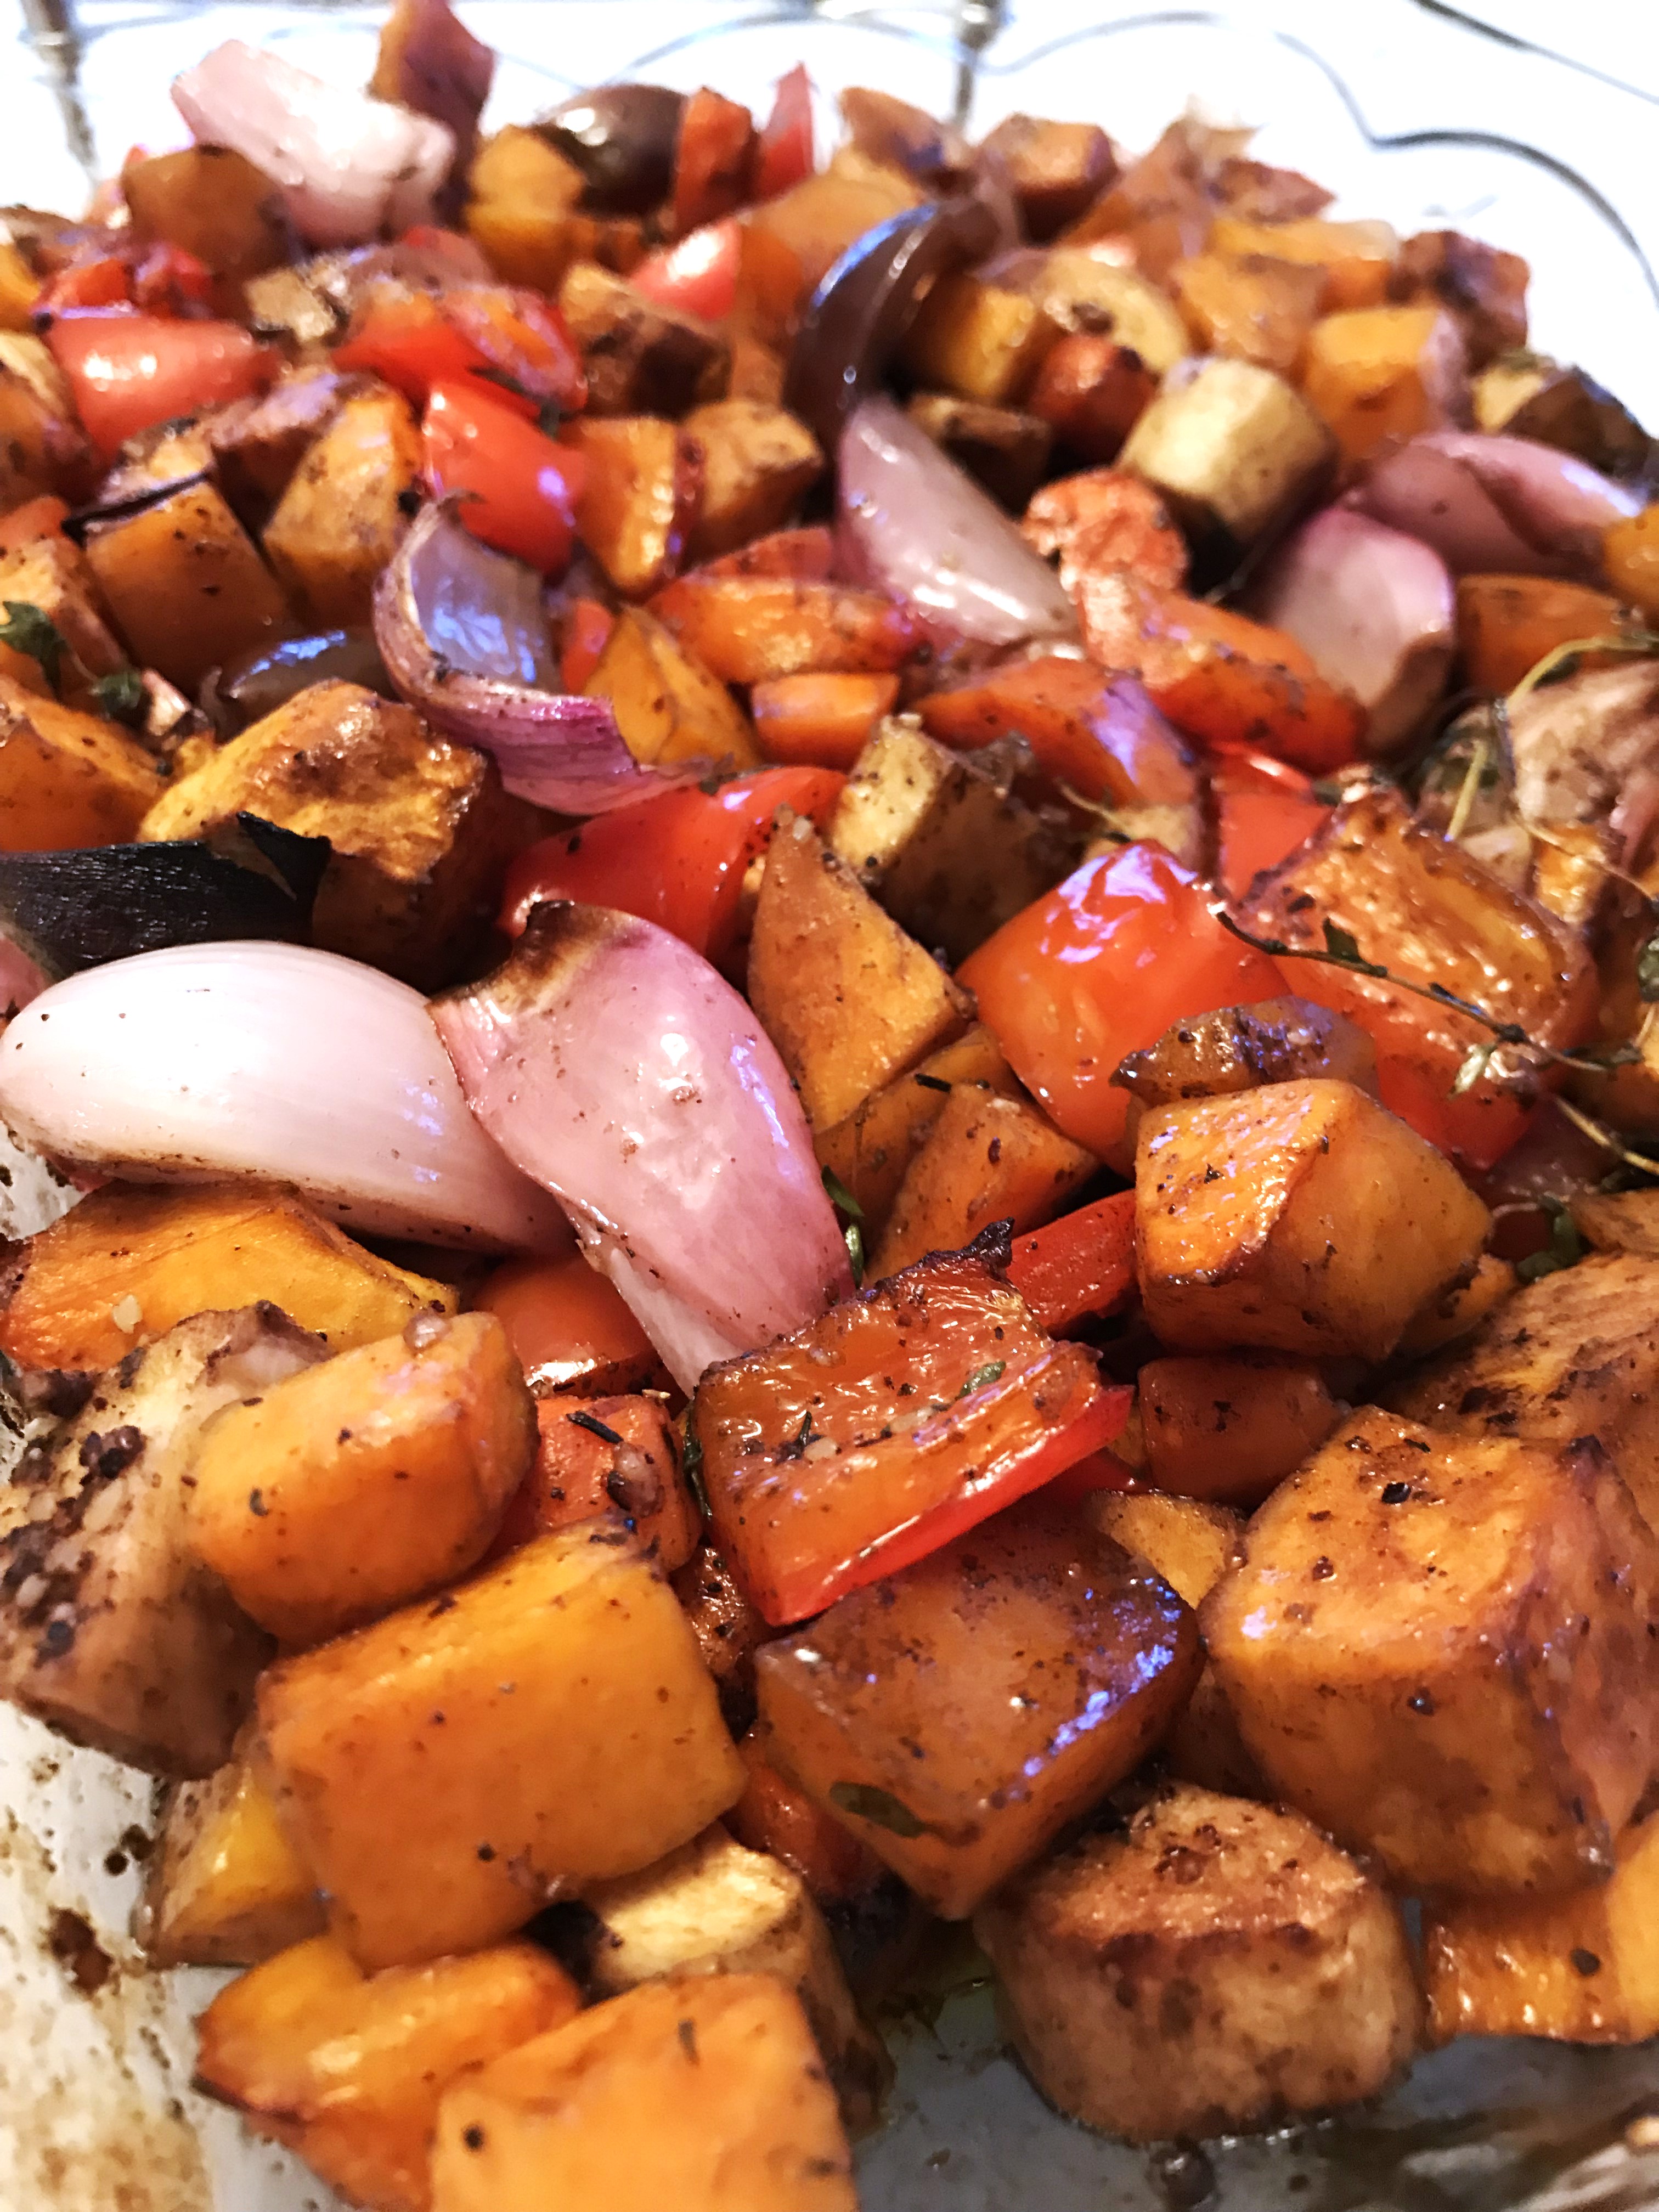
Oven Roasted Root Vegetables

Serves about 6
root vegetables, squash, side dish, Fall recipe
Oven Roasted Root Vegetables
VEGETABLES:
2 cups (10 ounces) kabocha squash, or butternut
2 cups (8.5 ounces) shallots
2 cups (8.3 ounces) red bell peppers
1¾ cups (8 ounces) sweet potato
1 cup (5.5 ounces) carrots
1 cup 4.5 ounces) parsnip

DRESSING:
½ cup Balsamic vinegar
¼ cup melted, unsalted butter
¼ cup olive oil
1 - 2 tablespoons fresh thyme leaves, or use a couple or three large whole sprigs 
1 teaspoon freshly ground black pepper
1 teaspoon salt
1½ teaspoons Zah’tar, optional
2 – 3 cloves garlic, minced

VEGETABLES: Preheat oven to 400 degrees. Grease or spray a 9 x 13-inch oven safe casserole and set aside. Peel and scoop out seeds from the squash and cut into ¾-inch cubes. Peel and cube the sweet potato, carrots and parsnip similarly. Cut ends from the shallots and slice into quarters, lengthwise. Clean seeds and membranes from the bell pepper and cut into squares. (Yes, the pepper is not a root vegetable, but it gives great flavor and color!)

DRESSING: Whisk together all the dressing ingredients and pour over the prepared vegetables in a bowl. Toss well to coat the vegetables evenly. Pour the vegetables with the dressing into the prepared casserole dish and bake for 40 to 50 minutes, or until the vegetables are easily pierced with the tip of a knife.


My passion is teaching people how to create a harmony of flavors with their cooking, and passing along my love and joy of food, both simple or exotic, plain or fancy. I continue my journey in ethnic and domestic cuisines, continuing my journey to explore diverse culinary experiences and hopefully to start you on a journey of your own. Join me also at A Harmony of Flavors on Facebook, and Pinterest.

Tuesday, September 29, 2020

Magnificent Appetizer for a Formal Dinner

menu
Birthday Dinner Menu
This past weekend was my son's 47th birthday, and as usual I made a dinner. It was a fancier type of dinner, with a lovely table setting, three kinds of wine and four courses. And a menu, shown here. 

My son loves fine food, as do I, along with loving to make it. It is a true labor of love, at times, to put together this type of meal, but once it is done and we are enjoying, and everything tastes SO GOOD, then it truly doesn't matter how long it took to prepare, or how many backaches went into the mix. We all enjoyed the meal, which thankfully all turned out great.

My idea for the savory cheesecake tarts I made as part of the appetizer were based on the recipe for little individual Savory Brie & Rosemary Cheesecakes. I made the original recipe in mini cheesecake pans, but for our birthday dinner I wanted something a little bigger than "mini," plus I wanted them in a different shape configuration; wider and less tall. I have some 3½-inch diameter metal rings, originally bought for making English muffins, but to date, I still haven't made any that way! I have used the rings to make buns, keeping them in shape while they bake. This time it seemed they would be the ideal size for my appetizer cheesecakes. 

rosemary, brie, chevre, cheesecake, savory
Rosemary, Brie & Goat Cheese Tarts with Balsamic Roasted Root Vegetables


One thing I had trouble with was the crust. When I made the original recipe, I used all-purpose flour. This time I wanted to try out a gluten free option and something did not work quite properly. I had to add, and revise as I went along. My suggestion would be to use the original recipe, cut in half.

As for the filling for these savory cheesecakes, I altered the original recipe by using Brie, Chevre and cream cheeses, with some Greek yogurt instead of sour cream. This worked out just amazingly good. To top off these appetizers, I made some Oven Roasted Root Vegetables, making about half the amount, more or less. To make them work with the smaller size of Cheesecake, I cut all the vegetable pieces into ¼-inch cubes. The shallots were cut into chunks about the same size as the golden beet, butternut squash, parsnip, and red bell pepper (not a root veg, but added for color). In keeping with the rosemary theme, I added some rosemary to the original balsamic mixture.

brie, chevre, cheesecake, tart, rosemary
Rosemary, Brie & Goat Cheese Tarts with Balsamic Roasted Root Vegetables

Topped off with a rosemary sprig and a large caper berry, these were not only gorgeous, but they tasted as good as they looked. I served a NV Mionetto Prosecco Extra Dry, which paired wonderfully.

The crusts can be made ahead, formed and frozen. The cheesecakes can be made and baked 1 to 2 days ahead with no perceptible deterioration in quality.


Rosemary, Brie & Goat Cheese Tarts

Serves 6

brie, chevre, rosemary, tart, cheesecake

CRUST:

5 tablespoons unsalted butter
⅓ cup almond meal
½ cup +2 tablespoons all-purpose flour
¼ teaspoon salt
¼ teaspoon cracked black pepper
1 teaspoon finely minced fresh rosemary

Cut all ingredients together, form into a ball, wrap and chill for 30 minutes.

Roll out the dough to slightly under a quarter-inch thickness. Whatever size diameter container you will use for baking the cheesecakes is the size you will need to cut out the tart bases. I used 3½-inch rings with no bottoms, using the ring to cut out the base. Set them onto a parchment lined tray or baking sheet and freeze until quite firm, covered well if leaving for more than an hour.

When ready to bake, set the same rings or the tart shells onto a parchment lined baking sheet. Cut pieces of parchment that will line the wall of the ring and extend a bit above the top of the ring. Set the frozen crust inside the parchment. Bake in a preheated 350 degree oven for about 12 to 13 minutes, or until set and just starting to turn golden. Set aside to cool slightly. Leave oven on.

CHEESECAKE FILLING:
6 ounces Brie cheese, at room temperature
4 ounces cream cheese, at room temperature
4 ounces Chevre cheese, at room temperature
4 ounces plain Greek yogurt
½ teaspoon sugar
2 pinches salt
1 egg plus 2 egg yolks
1 teaspoon finely minced fresh rosemary
Pinch Aleppo pepper or other chili flakes, optional
½ teaspoon coarsely cracked black pepper

Most small Brie rounds come in 8-ounce packages. I remove much of the outer coating of the Brie, leaving about 6 ounces, after trimming.

Using a hand mixer on low speed, beat together the Brie, Chevre, cream cheese and yogurt, just to combine. Add in the sugar, salt, rosemary Aleppo pepper and black pepper, then add in the eggs and yolks. Again, beat on low speed, for as little time as possible, just to make sure all ingredients are properly distributed.

Scoop equal portions of the Brie mixture into the pre-baked tart shells, lined with the parchment. The parchment will allow for easier removal later. Once filled, rap the baking sheet sharply onto a counter surface to eliminate any air bubbles from the filling. Bake the cheese tarts for 20 to 25 minutes, until the cheesecakes are mostly set, with just a tiny bit of jiggle in their centers. Set aside to cool. Once baked and cooled, they can be covered and refrigerated until needed, 1 to 2 days.

When serving, preheat oven to 350, uncover the cheesecakes and set the baking sheet in the oven to warm for about 10 minutes or less. If using the rings with no bottoms, use a spatula to lift the entire cheesecake with its ring onto a plate for serving, then lift off the ring and peel away and discard the parchment, leaving a clean outer edge. Top with any garnish desired, although the little cubed vegetables baked in the Balsamic mixture paired heavenly well.


Oven Roasted Root Vegetables


Makes 4.5 to 6 cups, depending on vegetable amounts.
roasted vegetables, shallot, squash, parsnip, beet
Oven Roasted Root Vegetables


2 to 4 shallots, 3/4 to 1 cup depending on size, cut into small chunks
1¼ cups butternut squash, in ¼-inch dice
1 large parsnip, peeled, cut in ¼-inch dice
1 medium to large golden beet, cut in ¼-inch dice
1 red bell pepper, cut into ¼-inch dice

DRESSING:
⅓ cup Balsamic vinegar
3 tablespoons butter
3 tablespoons olive oil
2 teaspoons fresh thyme leaves
2 teaspoons fresh rosemary leaves, minced finely
½ teaspoon salt
½ teaspoon cracked black pepper
1 teaspoon Zahtar, optional
2 cloves garlic, finely minced

Mix all dressing ingredients in a small saucepan to melt and meld flavors. Spray a 13 x 9-inch baking dish with cooking spray and add in all the prepped vegetables, then pour in the dressing. Stir well to coat, then bake in a preheated 400 degree oven for about 40 minutes, or until they can be easily pierced with the tip pf a knife. These can be made ahead and reheated just before using.


My passion is teaching people how to create a harmony of flavors with their cooking, and passing along my love and joy of food, both simple or exotic, plain or fancy. I continue my journey in ethnic and domestic cuisines, continuing my journey to explore diverse culinary experiences and hopefully to start you on a journey of your own. Join me also at A Harmony of Flavors on Facebook, and Pinterest.

Disqus